Cabinet Installation in Austin, TX
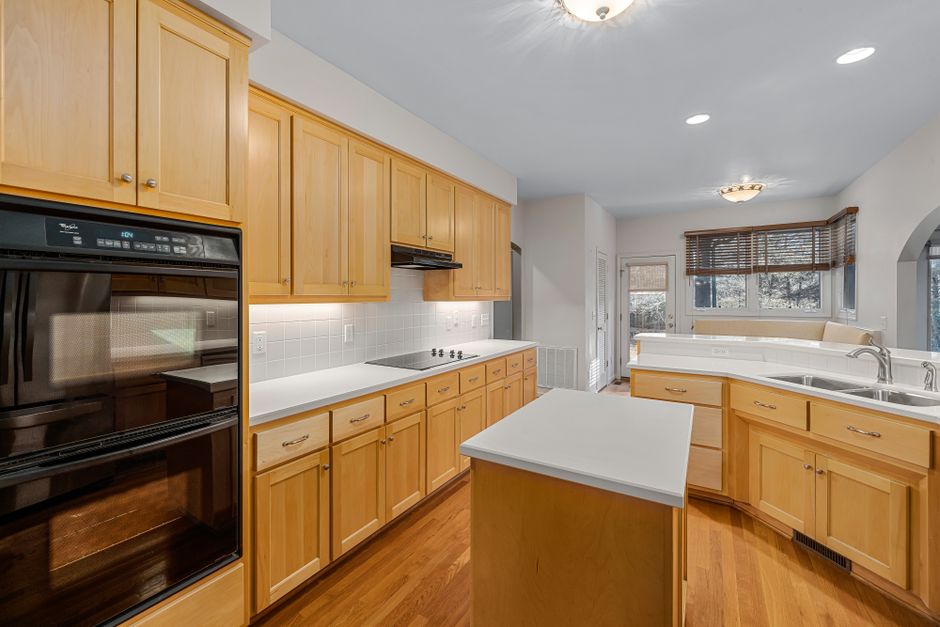
Notes from the crew side of cabinet installation in Austin, TX: setting boxes on uneven slabs, scribing to old plaster and hanging wall cabinets true.
What We Cover
- Crown Molding and Filler Strips That Close the Last Gaps How filler strips and crown molding finish the top and ends of a cabinet run where the walls and ceiling are not square.
- Finding the High Point of a Floor Before Hanging Cabinets How a crew locates the highest spot on a kitchen floor and sets the level line that every cabinet in the run hangs from.
- How Summer Heat and Humidity Affect Cabinet Installation Days What Austin heat, humidity swings and an unconditioned garage do to cabinet boxes, face frames and installation scheduling.
- Locating Studs and Fastening a Ledger Board for Wall Cabinets How a stud finder, a ledger board and a level line carry the weight of upper cabinets on Austin walls.
- Scribing Cabinets to Wavy Plaster Walls in Older Austin Houses Why plaster walls in Hyde Park and Travis Heights bungalows are never flat and how a scribe line makes a filler strip fit them.
- Shimming Base Cabinets on an Uneven Slab Where shims go under a base cabinet, how far a slab can drift across a kitchen, and how the toe kick hides the gap.
Cabinet Installation in Austin, TX
Hanging a set of cabinets in Austin is mostly a fight with the house. The slab under the kitchen has moved since it was poured, the walls in an older bungalow were troweled by hand, and the ceiling sits wherever the framers left it. A crew that works here learns to read those surfaces before opening a single box, because the cabinets themselves arrive straight and the room does not.
Starting From the Floor
Every base cabinet run begins with a long level and a pencil. The crew finds the highest point on the floor, strikes a level line across the walls from there, and builds the run from that mark. Slabs in Austin shift with the clay beneath them, and houses near the Colorado River and Lady Bird Lake behave differently from those on the rock west of the Balcones Fault. Shims under the plywood box carry the boxes up to the line, and the toe kick hides the evidence.
Walls That Are Not Flat
Plaster in the older neighborhoods of Hyde Park, Clarksville and Travis Heights waves and bows in ways drywall never does. A cabinet set against it leaves gaps behind the face frame, so the crew scribes a filler strip to the wall with a compass and a pencil, then sands it to the line. Limestone block walls in parts of Tarrytown add another layer of difficulty, since studs may be absent and the cabinets hang from masonry anchors instead.
Upper Cabinets and the Finish
Wall cabinets hang from studs found with a stud finder and carried by a temporary ledger board while the screws go in. Crown molding and scribe molding close the last gaps at the ceiling, and a coped corner stays tight when the wood moves through an Austin summer. Newer houses in Mueller usually need less scribing than a bungalow in Bouldin Creek, though no wall is ever perfect.
Guides
The pages here cover finding the high point of a floor, shimming on uneven slabs, scribing to plaster, fastening a ledger board, how heat and humidity move the wood, and the trim that finishes a run. The posts that follow take up related questions from Austin kitchens.
Latest Guides
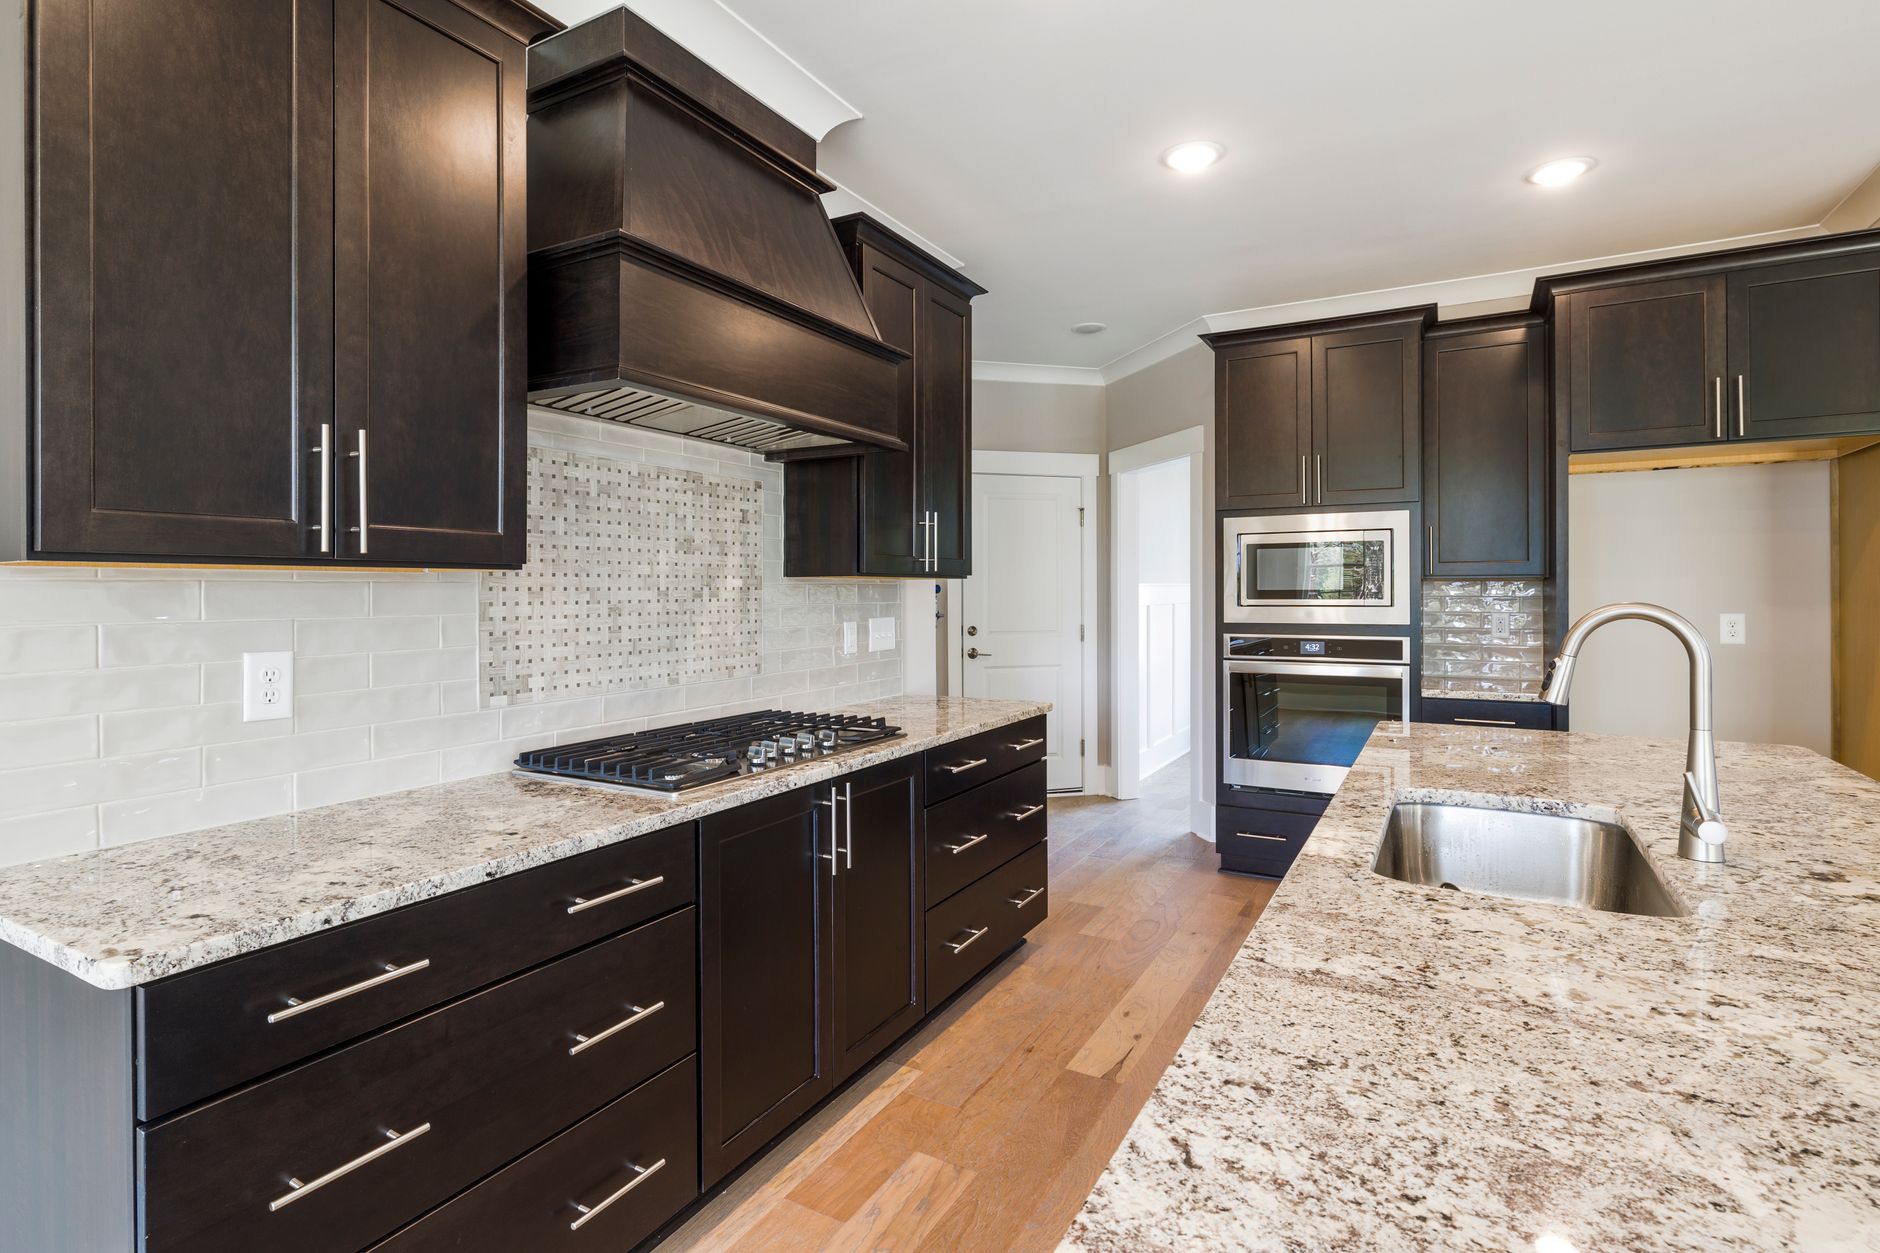
Getting an Austin Kitchen Ready for Cabinet Day
2026-10-06
Cabinet day goes faster when the room is ready for it. A crew that arrives to find a cluttered kitchen, a half-finished floor or boxes stacked in a hot garage loses hours before the first level line is drawn. The questions below come up on nearly every Austin kitchen, from a small bungalow in Bouldin Creek to a larger remodel off Mount Bonnell Road, and the answers explain what the room needs before the crew shows up.
What should be out of the kitchen before the crew arrives?
Everything that is not part of the install. Old cabinets, countertops and appliances that are being replaced need to be gone, because the crew cannot find the high point of a floor with a refrigerator parked on it. Loose items in adjacent rooms should be moved too, since cabinet boxes travel through the house on their way to the kitchen and a hallway full of boxes slows everyone.
The crew needs clear access to every wall that will carry cabinets, and a clear stretch of floor along each one. A wall with furniture pushed against it cannot be marked for studs or checked for plumb. A few feet of open floor in front of the wall makes room for the long level to sit flat while the crew reads the slab.
Does the flooring go in before or after the cabinets?
This question starts more arguments than any other, and the answer depends on the floor. Tile, hardwood and vinyl plank are handled differently.
- Tile usually goes in under the cabinets only if the cabinets are not yet ordered or if the tile is the same level throughout. Many crews prefer to set the base cabinets first, then tile up to the toe kick, because a tile floor that is not dead level makes shimming harder and buries the high point under thin set.
- Hardwood often goes in last. Oak flooring is nailed down after the base cabinets are set, then trimmed with a quarter round against the toe kick. The floor can also run under the cabinets if the room is being refinished at the same time, though that raises the cabinet height and changes the countertop line.
- Vinyl plank is a floating floor and should not be pinned under heavy cabinets. It stops at the toe kick, and the crew installs the cabinets on the subfloor.
Whichever order is chosen, the decision should be made before ordering, because a floor that adds half an inch changes how every cabinet sits against the wall.
Why does the subfloor matter so much?
The cabinets sit on whatever is under them. On an Austin slab, that means concrete that may have a shallow dip or a hump where the original pour was not perfectly flat. Over pier and beam foundations in Hyde Park or Clarksville, it means a wood subfloor that may bounce or sag between joists.
A crew checks the subfloor before anything else. A slab gets a long level and a straightedge. A wood subfloor gets walked across to feel for soft spots. If a floor flexes under foot, a heavy base cabinet with a stone countertop will sit on a surface that moves, and the doors will drift out of alignment over the first few months. Fixing a soft subfloor before the cabinets go in is a few hours of work. Fixing it afterward means pulling the run apart.
What do plumbing and electrical need to look like?
Rough plumbing and electrical should be finished before the cabinets arrive, and the openings should match the cabinet plan. A drain stub that sits two inches off the sink base will force the crew to cut the back of the cabinet in an awkward place. A supply line that comes out of the wall at the wrong height can be hidden inside a base cabinet, but only if it lands inside the cabinet footprint.
Outlets matter too. The ones above the countertop should be marked and boxed before the wall is closed, and the ones inside cabinets, for a microwave shelf or a charging drawer, should be planned with the cabinet maker. A crew can drill through a cabinet side for a cord, but a box that was not positioned for it makes the job clumsy.
Where should the cabinet boxes wait?
Inside the house, in a room with air conditioning, stacked on spacers and kept away from the kitchen walls until the crew is ready. Austin summer heat and humidity move wood, and a garage near Lady Bird Lake can swing from damp morning to hot afternoon in a single day. A face frame that swells in the garage and then dries inside the house will shift its reveals.
Boxes should stay in their packaging until the crew opens them, with the labels visible. Each carton usually matches a position on the plan, and a crew that can read the labels can stage the run in order. A pile of unlabeled boxes costs an hour of sorting.
How clean does the room need to be?
Swept, with the floor free of debris. Drywall dust and sawdust sit under shims and keep a box from resting flat, and a stray screw under a base cabinet becomes a bump in the countertop later. If the walls have just been painted, the paint should be dry enough that a shim or a clamp will not mark it.
Dust control also protects the finished cabinets. Sanding a filler strip or sawing crown molding throws fine dust, and the crew works better in a room where the floor is clear and the doors to other rooms can be closed.
What about pets, kids and a busy house?
A crew carries long boards, power tools and heavy boxes through the house, so the path from the front door to the kitchen needs to be clear of people and animals. Dogs are the usual problem, because an open door during a delivery lets one out. A closed room or a crate for the day removes the risk.
Noise is a factor as well. Cabinet work is loud, with a miter saw, a drill driver and a nail gun running through the morning. A household that works from home can plan around it, and a crew that knows the schedule can leave the loudest cuts for an hour when the house is quiet.
Should the walls be painted first?
Usually yes, at least a first coat. A wall painted before the cabinets go up needs only touch-up around the face frame and the filler strips afterward. A wall painted after the cabinets requires careful taping at every edge, and paint along a scribed strip can fill the fine gap the crew worked to close.
Old plaster walls in Travis Heights and Tarrytown sometimes need patching before paint, and the patch should be sanded and sealed so it does not flake behind the cabinets. A wall that sheds dust behind a cabinet is a wall that was not ready.
What if the walls turn out worse than expected?
It happens, especially behind old cabinets. A crew that removes a run of cabinets from a 1940s house may find that the plaster behind them was never finished, or that a section of wall was patched with a different material. The crew adjusts by scribing wider fillers, furring out a section, or adding blocking for the new cabinets to screw into.
The homeowner can help by letting the crew see the walls early. A walk through the empty kitchen a few days before the install, with a level and a stud finder, lets everyone spot the problems while there is still time to plan for them.
How long should the whole thing take?
A typical kitchen takes a crew a couple of days for the boxes, with trim, crown molding and hardware stretching into a third. A kitchen in a house with crooked walls, a dipping slab or a long ceiling run can take longer, and a crew that plans extra time at the start avoids the rush that causes mistakes.
A kitchen that is ready before the crew arrives gets finished sooner, with tighter joints and fewer callbacks.
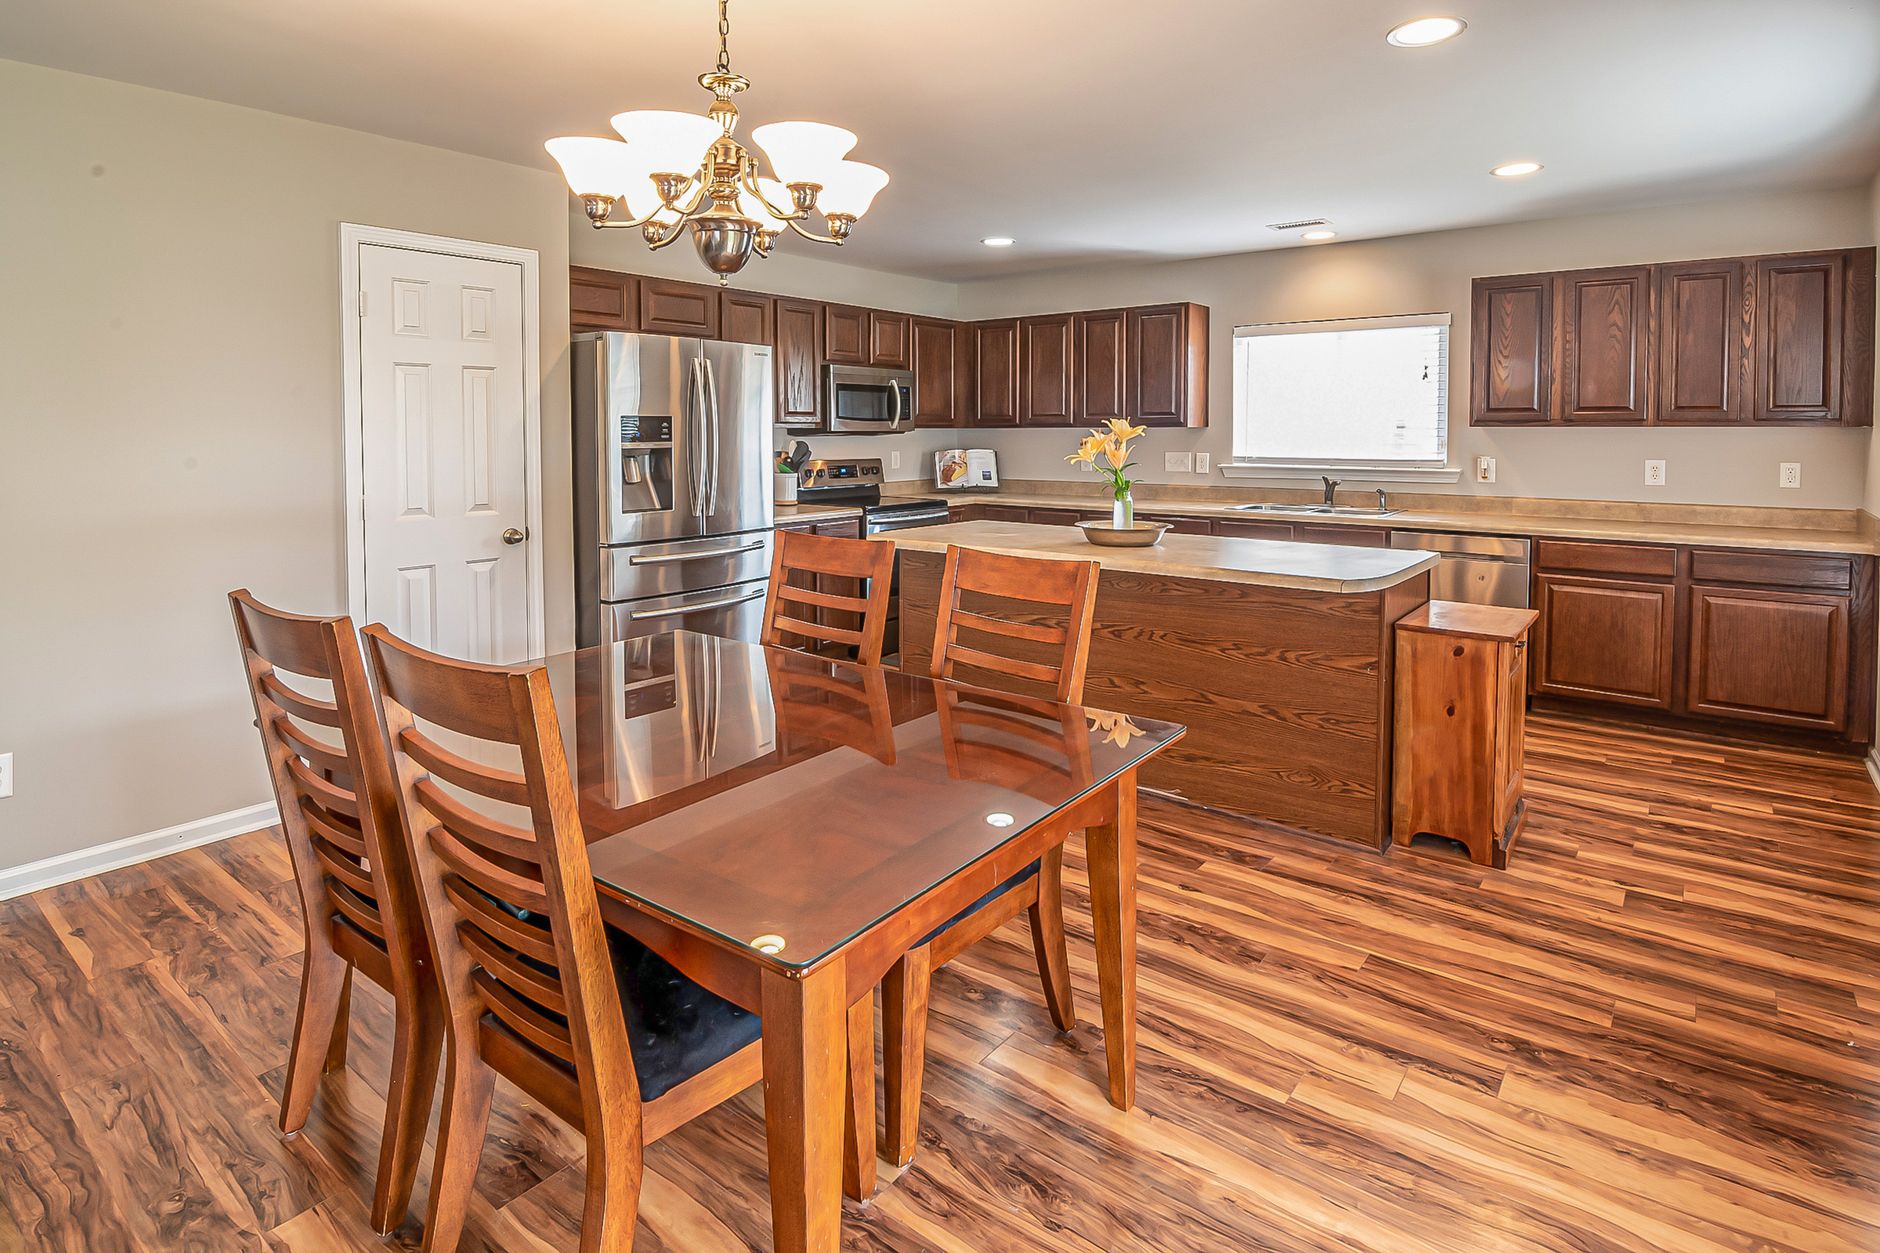
Handling Out-of-Square Corners in Older Austin Kitchens
2026-10-06
Two cabinet boxes meet at a corner and either the doors clear each other or they do not. In a newer house in Mueller the walls are close enough to square that the corner takes ten minutes. In a 1930s bungalow in Hyde Park, the corner can take an hour, and the reason is almost always the same: the two walls do not meet at ninety degrees, and nobody framed them to.
Why do corners come out of square in older Austin houses?
Plaster walls were built by hand. A carpenter set the studs, a lather nailed strips across them, and a plasterer troweled coats over the top until the wall looked flat from the doorway. Nobody checked the corner with a framing square afterward. Add a century of seasonal movement in clay soil, and a corner that began a little off drifts further. Houses in Clarksville, Tarrytown and Travis Heights carry this history in every room.
Newer slab houses have their own corner problems. A slab that settled near the Colorado River or over the shifting ground along the Balcones Fault can pull a wall a fraction of an inch out of plumb, and plumb matters here as much as square. A wall that leans into the room closes a corner from the top while the bottom stays open.
What does a crew check before the first box goes up?
The crew measures three things before any cabinet is lifted into place. First, the angle of the corner itself, checked with a framing square held against both walls at counter height and again near the ceiling. Second, the plumb of each wall, read with a long level and confirmed with a plumb line. Third, the distance along each wall from the corner to the first obstacle, whether that is a window, a door casing or a plumbing pipe.
These three readings decide which corner solution fits. A corner that is square but leaning needs a different fix than one that is plumb but opens wider than ninety degrees.
Which corner solutions do crews use?
There are four common approaches, and the right one depends on the cabinet style and how far the corner is off.
| Corner situation | Typical solution | What it gives up |
|---|---|---|
| Corner slightly over ninety degrees | Scribe a filler strip on the open side | A little drawer width near the corner |
| Corner slightly under ninety degrees | Notch or plane the cabinet side where it meets the wall | Some of the finished edge |
| Wall leans into the room | Shim the top of the wall cabinet out and scribe the bottom | Depth at the top of the cabinet |
| Both walls bow near the corner | Use a blind corner box with a wide filler | Usable shelf space inside the blind box |
None of these costs the homeowner anything visible if the crew does the cutting carefully. Each one trades a little interior space for a corner that closes cleanly.
How does a filler strip rescue a corner?
A filler strip is a plain hardwood board, maple or oak or birch to match the face frame, that sits between the last cabinet and the wall. In a corner it does extra work, because it gives the doors and drawers room to clear each other as they swing open. Without it, a drawer pull on one cabinet can strike the door of its neighbor around the corner.
The crew sets the filler strip proud of the wall, pencil scribes it to the plaster, and trims it with a jigsaw and belt sander. When the strip goes in, the face frame stays square and the gap against the wall disappears. The work is the same as scribing along a straight wall, with one difference: both edges of the strip must clear the neighboring cabinet, so the crew checks swing before fastening it.
What if the corner is plumb but the floor is not?
Floors cause as many corner problems as walls. A base cabinet that sits on a dip in the slab tips toward the corner, and the box above it follows. The crew finds the high point of the floor, builds the base run from there, and shims the corner box until its top edge matches the level line on the wall.
When the floor falls away toward the corner, a stack of shims holds the box up, and the toe kick covers the gap. When the floor rises toward the corner, the corner box takes the first shim and the rest of the run climbs down from it. Starting at the corner in either case would build the error into every box after it.
Blind corners and lazy susans
A blind corner cabinet tucks one side of its interior behind the neighboring cabinet. It forgives a crooked corner better than any other layout, because the hidden side never has to meet a wall squarely. The price is awkward access to the dead space, which is why many Austin kitchens put a lazy susan or a pull-out shelf there.
A lazy susan corner works the opposite way. Its doors and rotating shelves need the corner to be square or the shelves rub against the walls as they turn. Where plaster has bowed the corner, the crew may recommend a blind box instead, or may scribe the sides of the susan cabinet to the walls before installation. Frameless boxes are less forgiving than face frame boxes here, since a frameless cabinet has no stile to scribe, and the adjustment has to happen in the side panel.
Do wall cabinets and base cabinets meet at the same corner?
They should, and getting them to line up is half the job. A base cabinet corner and the wall cabinet corner above it need to share a vertical line, or the countertop backsplash looks off. The crew drops a plumb line from the upper corner and compares it to the base corner. If the two disagree, the wall cabinet moves, because the base run is already locked to the floor and the countertop.
The ledger board helps here. With the ledger set dead level, the crew slides the upper corner box along the board until its edge matches the plumb line, then screws it to the studs. In older houses where studs are irregular, the box may need extra support, such as a short furring strip or longer screws that reach framing behind the plaster.
How do crown molding and corners relate?
Crown molding turns the corner at the top of the wall cabinets, and any error in the corner shows up in the molding. A corner that is a degree or two off ninety makes a mitered crown joint open at the top or bottom. That is why crews cope inside corners instead of mitering them. A coped joint follows the profile of the first piece, so it stays tight even when the walls are not square.
A ceiling that dips near the corner adds one more variable. The crew may build up the top of the corner cabinet with a small cleat so the crown has a flat surface to sit against, or scribe a thin piece of molding to the ceiling line and let the crown rest on it.
What does a good corner look like when it is finished?
A finished corner has even reveals around every door and drawer, a face frame that meets the wall without a visible gap, and a countertop that sits flat on both runs. The doors on either side swing without touching, and a drawer opened fully clears the cabinet next to it. None of this is spectacular, which is the point. A corner done well is one nobody notices after the first week.
Checking the corner is simple. Open every door and drawer near it. Run a finger along the seam between the cabinet and the wall. Look at the corner from across the room with the lights on and see whether the lines of the cabinet carry cleanly into the walls on both sides.
Corners in Austin houses come out of square for reasons the crew did not cause, and a careful install makes up for them with scribing, shimming and a well chosen filler strip.